It’s costly and challenging to keep up with the constant wear and tear of tennis racquet strings. Changing the strings at home is an economical and practical way to preserve your racquet.
How to string a tennis racquet at home? A stringing machine is required to string a tennis racquet on your own, in addition to cutting tools. Once the racquet is mounted on the machine and you’ve measured and cut the new string you can begin weaving it in place.
It’s not necessary to purchase a new racquet or go to a professional each time your strings wear out or break off. Since regular players are advised to switch out their strings about every six months, learning the process is a major money saver. I’ve broken down the steps below.
How To String A Tennis Racquet
Keeping up with racquet maintenance is a vital part of any tennis player’s life. It only takes a few steps to get your racquet back in shape and good as new. Before you know it, you’ll be ready to head back to the court.
Tools
Before you even start, let’s go over the necessary supplies needed to string your racquet. You will need:
- A stringing machine
- A racquet
- Awl
- Pliers
- Scissors
- A yardstick
- Strings
Stringing machines run about $200 and upwards. While the cost may seem steep the investment in the long run is worth it. Considering professionals charge about $25-$50 a job (plus the cost of the string) and assuming you’re a regular player, in just a few rounds of restringing your racquet you’ll have made your money back. If you’re not committed to making the purchase, tennis shops usually rent them out for about $30.
Keep in mind it may take you about an hour to complete the process if it’s your first time. As you improve you’ll be able to do it in 30 minutes or less.
Step 1: Prepare the String
First of all, you’ll need to prepare your materials prior to the actual process. Let’s start with the string:
- Make sure your string is completely straight.
- Grab a yardstick.
- Measure about 40 feet of string. If you have a classic 95 square inch racquet you’re going to need 38 feet, but it’s safer to err on the longer side. You can always simply cut off the extra bit.
- Cut the 40 feet in half to get two 20 foot pieces.
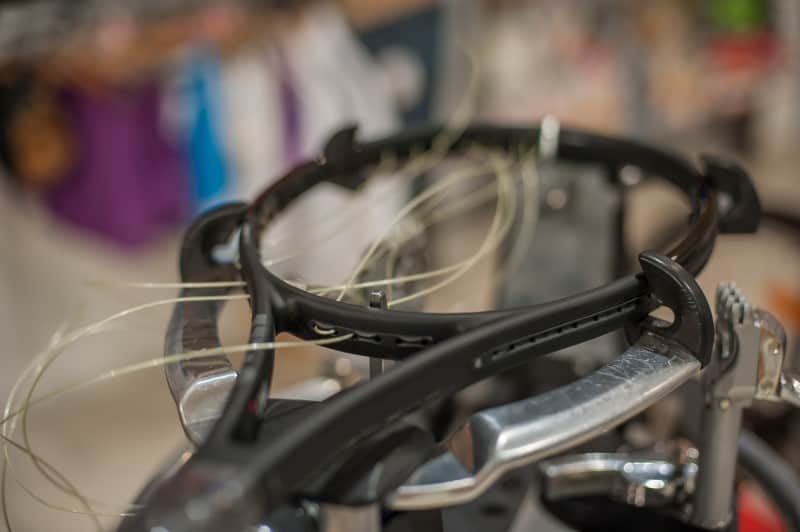
Step 2: Prepare The Racquet
Now that your string is ready to go, let’s move on to your racquet:
- Grab a sharp knife or pliers.
- Cut the strings off.
- Start from the middle and work your way towards the outer edges.
- Once near the edge, pull the remainder of the strings out one by one.
- Now check your grommets to see if any need to be replaced. If so:
-
- Use the blunt end of an awl to push the old grommets from the inner part of the racquet until it’s sticking out.
- Pull it off from the outer part of the racquet.
- Continue grommet by grommet until they’re completely off.
- Clean the racquet with rubbing alcohol.
- Blow dry the new grommets- heating them will make for easier application.
- Insert them manually.
- Use an awl to push them in further until they pop into place.
Check out this video for a visual on grommet application:
Step 3: Prepare The Machine
You’re almost done with your prep work. Set your machine to your desired string tension:
- Drop weight and manual crank machines will have adjustable scales.
- Electronic machines can be adjusted on the screen.
Most players stay within the 50 to 70 pound range. Keep in mind:
- Tighter strings give you more control as you hit the ball.
- Looser strings provide more power.
Play around with the tension if you’re unsure of your preference. You can always make a quick adjustment later on.
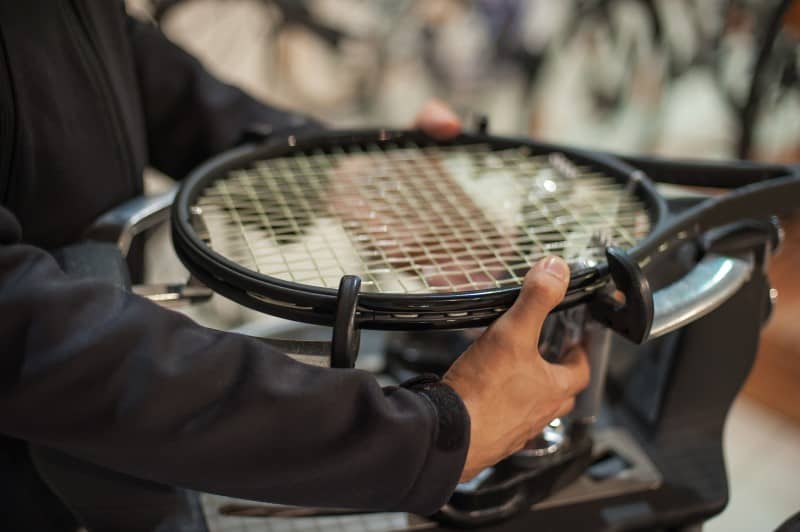
Step 4: Mount the Racquet
The mounting process differs depending on the type of machine you have. You’re going to have either two, four, or six mounting clamps. Regardless of the number:
- While securing the racquet onto the mounting clamps make sure there is a tight enough grip to keep still while you work. Make sure to not tighten so hard it contorts the frame, however.
- Do not block the grommets as you cannot insert string into blocked holes.
Step 5: Insert the String
Now that you’re all set up and mounted it’s time to move on the stringing portion of the process:
- First of all, you need to know where to insert the string:
- If there are six holes at the throat of your racquet, start there.
- If there are eight holes, start at the top.
- Coordinate your starting holes with their opposite ends to make sure you align the string properly.
- Grab one of your two pieces of string.
- Grab both ends and insert them into the middle holes.
- Pull the ends of the string out from the other end of your racquet, making sure they are evenly aligned.
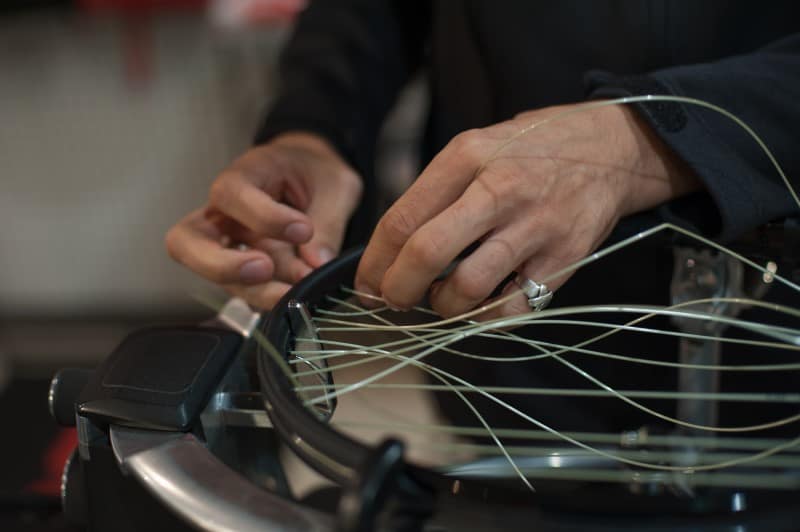
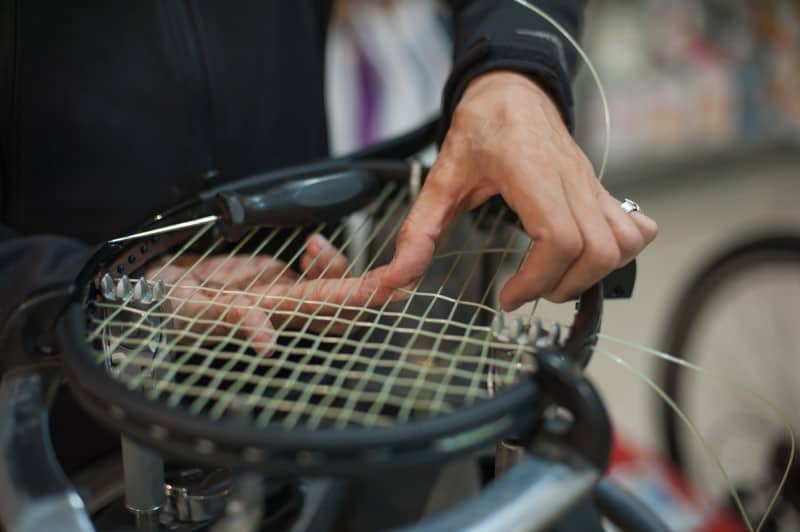
Step 6: Install The Main Strings
The main strings are the vertical strings. This step is not as complex as the following and should take you approximately 20 minutes to complete:
- Clamp one of the main strings from the part where you inserted it, as close as possible to the grommet.
- Use your machine to pull tension on the first main (the string that is not currently clamped).
- When pulled all the way through, release the clamp and place it at the opposite end.
- Pull tension again.
- Repeat actions until you’re done threading the string across your racquet.
- Look out for shared holes, which are spaced closer to one another than the other holes. You do not need to string them twice so go ahead and skip them.
- Make sure to alternate sides each time you repeat the process. You shouldn’t be completing one side of the racquet before the other because it can potentially warp the frame.
- Knot the main strings by inserting the remainder of the string into the closest outer hole of the racquet
- Do not undo the clamp until the knot is tied. If you lose tension you may have to start over.
Pulling tension can vary depending on your machine:
- If you have a drop weight machine make sure the rod has a flat, horizontal surface to guarantee proper tension.
- If you have a manual machine you will need to crank each time you pull tension.
- If you have an electronic machine you simply need to press the button to pull tension.
Step 7: Knot the Main Strings
You’re ready to wrap up with main string portion of the process:
- Knot the main strings by inserting the remainder of the string into the closest outer hole of the racquet frame.
- Loop around the string and insert the end into the loop, creating a knot.
- Secure with pliers.
- Repeat the process on the opposite side, making sure to insert the string into the same hole as the other side.
- Do not undo the clamp until the knot is tied because you’ll lose tension and have to redo the process.
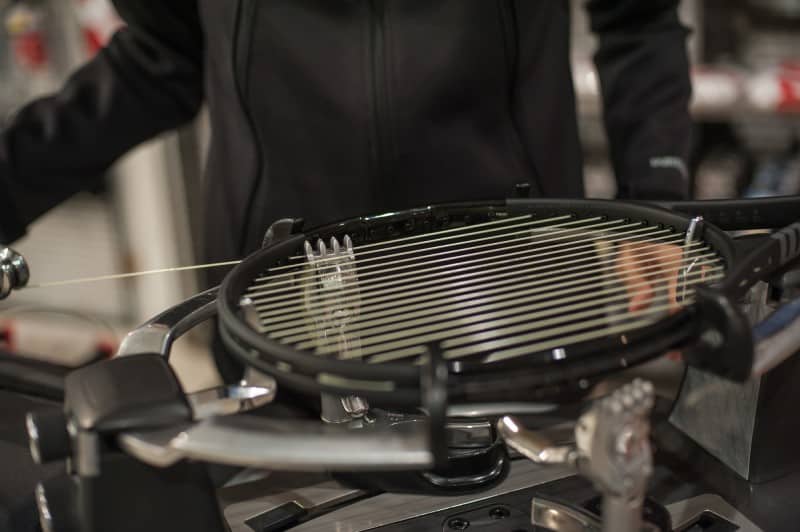
Step 8: Install the Cross Strings
The cross strings are the horizontal strings of your racquet. They are slightly more difficult to complete but the process is still simple. Let’s get started:
- Readjust the mount clamps to correspond with the vertical cross strings.
- Insert the remaining half of your cut string into one of the grommets of the main string.
- Tie a starting knot:
- Wrap it around the main string three times.
- Use your other hand to grab the two loops you just made.
- Thread the end of the string through the loops towards the frame.
- Thread it into the new loop you just made away from the frame.
- Pull tightly to secure your knot.
- Insert the string into the largest grommet on the side of your racquet.
- Weave the string over and under the main string until you reach the other end of the frame.
- Pull the string all the way through.
- Clamp the first string.
- Insert the string into the next hole down.
- Repeat the weaving process.
- When you’ve reached the other side of the racquet, release the clamp and place it on that string.
- Repeat the process all the way down the racquet.
Here are a few tips to ease the process:
- Use your middle fingers to thread the string over and under.
- If you started weaving over the main string, you should finish at the other side of the racquet under, and vice versa.
- Try your best to not rub the cross strings against the main strings to prevent wear.
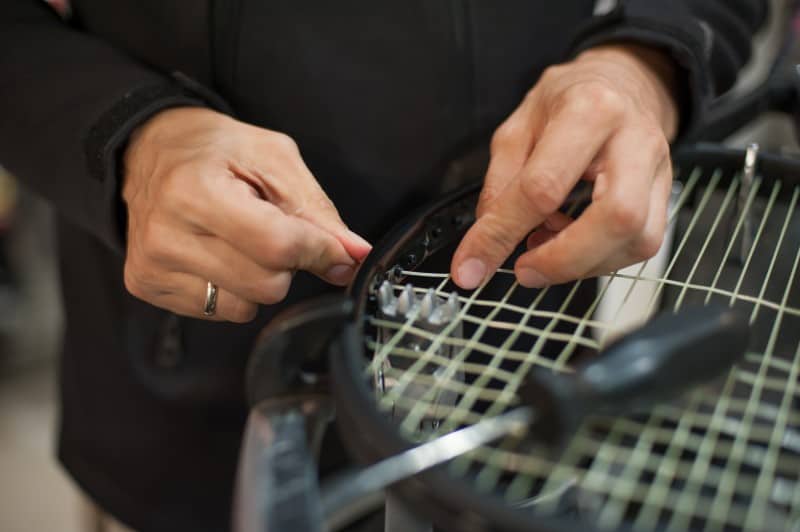
Step 9: Knot the Cross Strings
You’ve almost made it! To complete your cross strings, you must:
- Find the closest grommet hole that will permit you to fit two strings through.
- You can use your awl to make the grommet hole bigger if necessary.
- Insert the remainder of the cross string through the hole.
- Pull it all the way through.
- Tie a knot in the same style as previously (Step 8: #3)
Step 10: Remove the Racquet
Congratulations! You did it. To wrap things up:
- Unclasp the clamps.
- Dismount the racquet.
- Check for:
- Missing weaves
- Kinks in the string
- Racquet frame distortion
- Any other damage
If you’re more of a visual learner check out this video for a step-by-step guide on the process:
Choosing Your Strings
There are a variety of strings you can select for your racquet. Your choice will ultimately depend on personal preference and budget. Let’s explore the options:
| Cheap | Versatile | Playable | Durable | |
| Nylon/Synthetic Gut Strings | X | X | X | |
| Polyester and Kevlar Strings | X | X | ||
| Natural Gut Strings | X | X | ||
| Multifilament Strings | X |
Some professionals actually combine string types to get the best of both worlds. Natural gut strings tend to be the most expensive and easy to break. If you’re a novice I recommend selecting nylon or polyester strings which are more affordable and durable.
Read our full article on Best Tennis Strings.
Choosing A Stringing Machine
I mentioned previously that there are different types of stringing machines, but that’s not the only factor to look for when shopping. Consider all of the following:
- Tabletop model
- Standalone model
- Points of the machine
- Clamp Types
- Machine versions
- Cost
- Customer support
1.Tabletop Model
Stringing machines come in two different models. Tabletop is the portable (albeit heavy) version of the stringing machine. It’s important to keep it on a flat and stable surface while using it.
2.Standalone Model
Standalone models are- you guessed it- basically the desktop version of stringing machines. Standalones tend to be more advanced and have more features, in addition to being sturdier.
3.Points Of The Machine
I previously mentioned that machines have two, four, or six mounting clamps.
- The two- and four-point machines clamp at the sides of the head and throat of the racquet and are quicker and easier to use.
- The six-point machines also clamp at the top and bottom of the racquet and provide a more secure fit with less probability to bend the frame.
4.Clamp Types
Not all clamps are equal. There are three main types:
- Flying clamps
- Not attached to the machine
- Cheaper price point
- Aren’t consistent in holding tension
- Fixed clamps that swivel
- Attached to glide bars
- Positioned differently depending on whether you’re working on main strings or cross strings
- Limited range of motion (90 degrees and 0 degrees)
- Fixed clamps that don’t swivel
- Also attached to glide bars
- Also repositioned depending on what you’re working on
- Great range of motion
5.Machine Versions
There are three major versions of stringing machines:
- Drop weight
- Electric
- Hand crank
The first two- the drop weight and electric- are considered constant pull which pull the string to the tension you prefer and then continue pulling while stretching the string to maintain that tension until the string is clamped.
Drop weights are generally more challenging to use but also cheaper.
The third, or the hand crank, is instead considered a lockout machine. It operates with a lever to pull the string to the right tension and then locks it in place.
6.Cost
Machines start at about $200 and can run upwards of $1000. Unless you really need a high-quality machine, it’s totally fine to stick with something more economical. Just make sure to do your research pre-purchase.
7.Customer Support
It may not come to mind, but consider customer care when purchasing your stringing machine. Check for things like:
- Warranty
- Availability of phone assistance
- Shipping costs
- Adjustment costs
When making such a big investment it’s smart to be prepared and plan ahead for potential problems.
Tips on Preserving Your Racquet
As you’ve now learned, stringing a tennis racquet is not the most effortless task out there. Though it is recommended to switch out your stings every six months, there is also a rule of thumb to change your strings as many times a year as you play in a week. So. if you play tennis four times a week, it’s better to change your strings every three months as opposed to six. If you play every other week, you can probably last well over a year with the same strings.
There are ways to preserve the elasticity and longevity regardless of how heavy you play. Try doing the following:
- Use string vibration dampeners and savers
- Choose strings known for their durability:
- Nylon
- Synthetic Gut
- Polyester
- Kevlar
- Don’t expose the racquet to extreme heat or cold:
- Heat will warp the frame.
- Cold will cause your strings to lose elasticity- negatively impacting performance at best and snapping off at worst.
- Avoid sitting on the racquet.
- Try not to drop it or hit it forcefully on any surfaces.
- Do not scrape it on the ground when picking up tennis balls. This is detrimental to the performance and aesthetic of your racquet.
- If you must scrape it on the ground, use protective tape on the area of the frame that makes contact with the floor.
- Don’t use too much pressure when stringing. If the strings are too tight there’s a higher chance they’ll break. There will usually be a specified tension range associated with the type of string you select, so make sure to stay within the boundaries.
- Always put your racquet in a case after playing to minimize the risk of damage. Climate protected cases will also protect your racquet from extreme temperatures.
- Don’t forget your grip needs to be replaced too. If it gets slippery or starts to peel off, it’s time for a new one.
- Don’t pack your racquet into checked baggage- you never know how much damage it can sustain being tossed around on the plane.
- If you were playing in the rain, make sure to dry your racquet before putting it back in its case. Water can damage less durable strings such as natural gut.